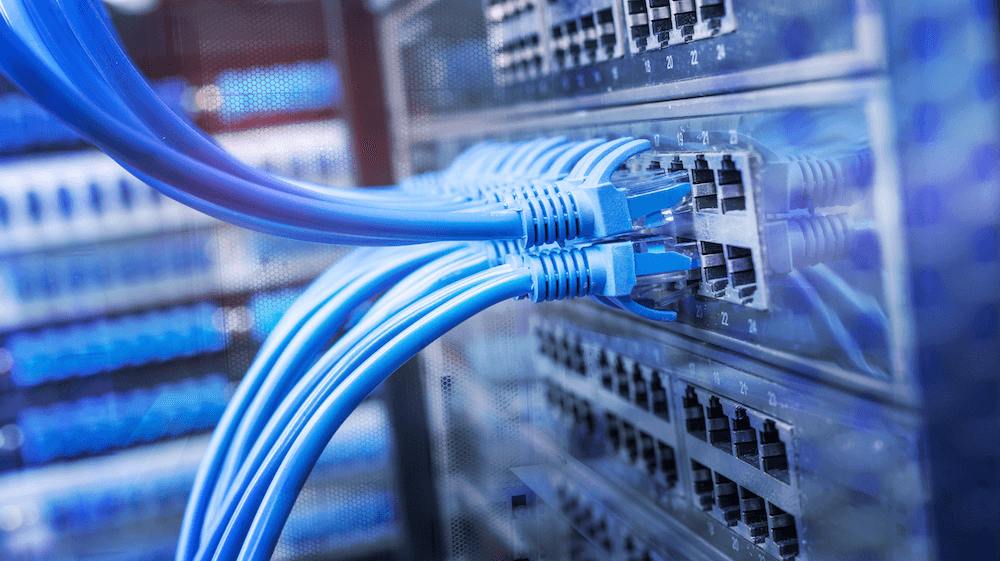
Network monitoring is essential for ensuring the reliability, security, and performance of computer networks. It involves continuously observing network traffic to detect and respond to anomalies, optimize resource allocation, and maintain uptime.
It also helps keep a network secure by helping us identify suspicious activity occurring in the network.
We will use WireShark which is a powerful open-source network protocol analyzer.
This blog assumes you have a basic idea about computer networks. If not I would recommend learning about various networking protocols, difference between hubs and switches, and the OSI model.
Packets are used in various networking protocols (like TCP/IP) to enable efficient and reliable communication between devices on a network.
Packets contain 2 main components:
Header: - This part includes metadata such as the source and destination IP addresses, protocol information, and other control data necessary for routing the packet through the network.
Payload: This part contains the actual data being transmitted, such as a portion of a file, a message, or any other type of data
Wireshark is a packet capture tool and captures packets as they travel across a network, providing detailed information about each packet, including:
If you want to look at only the traffic originating from your interface and coming back to you then you don’t have to do this. You also don’t need to do this if you can set up Port spanning on your switch.
We are going to use ettercap to perform ARP spoofing (pretending to be another device), this will let us intercept the communication between two devices on the network.
Install ettercap and follow along.
Select an interface and click on the tick mark
Now we can scan for hosts
Click on the Host List button to view all the hosts availableWe can see the hosts available
Now u can select multiple hosts and add them as targets
Make sure that your gateway is in a different target pool than the hosts that you actually want to do some ARP Spoofing on, this is because we want both ends of the communication stream i.e response and request. No problem if you did not understand this as I will demonstrate this.
To find your gateway:
ip route | grep default
This will be your gateway.
Now that we know our gateway we will add it to target pool 1
Then we will add the target host to target pool 2
After this we can proceed with starting the ARP Spoofing
Now we can intercept these ARP requests in Wireshark. We can also use arpspoof instead of ettercap.
ARP spoofing is rare today due to network security improvements like dynamic ARP inspection, encrypted traffic, secure protocols, and intrusion detection systems, all of which make it harder for attackers to exploit ARP vulnerabilities. I have included this section for the sake of completeness.
First things first to make your life easier set the Main Toolbar style to Icons & Text:
This will help you learn what each button in the toolbar does by labeling it. Feel free to adjust the appearance to your liking.
In the home page you will see all the available interfaces and the activity occurring in that interface next to it. Choosing any will show packets captured from all interfaces
Loopback interface helps capture packets from for example a web server on localhost.
We can also check out other options
Resolve MAC addresses -> Vendor names resolved from MAC addresses
Resolve network names -> Resolve IP to DNS (This will generate a flood of DNS lookups in the packet list).
Resolve transport names -> Instead of port 80 show http or instead of 22 show SSH
Beware that these options might slow down the capture so it is personal preference.
Now that we are familiar with it we will see how to use it.
Now I will show some traffic occurring in eth0 interface on my VM
This information can be quite overwhelming, wireshark does deep protocol decoding and a lot of translating to English from binary to make this data human readable. What we are capturing here are actually frames.
Before we dive into this data we will find how to save this packet capture data:
We can save the packet capture in various formats like pcapng, pcap, etc.
These are the most used and you can see the pros and cons:
We can see various ways to filter the data that we can capture.
We can filter with host IP
This will filter the packets that either have source or destination of the host IP I have mentioned
We can also sort based on protocol, source or destination so play around with it:
Note that the protocols are color coded and you can see the colors in the scrollbar.
We can also search for packets using the shortcut ctrl + F :
We can see that we get a packet containing the word we searched for.
Now we can begin analyzing the data, click on it to bring up the data related to that specific packet. Now in the data we can see:
Frame - Layer 1 header and we can see that we captured 1712 bits
Ethernet - Layer 2 and we can see that the type is IPv4, this tells us that we are looking at IPv4 data and in the next header we can see the IPv4 content
IPv4 - Layer 3 and we can see the source and destination and various IP headers as well.
We can also see that the protocol is UDP and that is the next header as well.
UDP - Layer 4 and we can see the Destination and Source Ports
SSDP - This particular packet uses SSDP but you might see HTTP, DHCP, etc. This occurs at the application layer(layer 7).This is the SSDP data:
And that is how you pull apart a frame to look at the individual headers and also the data from the application layer.
This is an example from a machine called Support from HTB where we could see clear text password in LDAP:
ip.addr == x.x.x.x - Sets a filter for any packet that has x.x.x.x as the source or destination IP address
Can also apply not filter like so !(ip.addr == x.x.x.x)
http or dns - Narrow down to http protocol or DNS.
ftp - For FTP protocol only obviously.
tcp.port==xxx - Sets filters for any TCP packet with a specific source or destination port
tcp.flags.reset==1 - Indicates a TCP RST (Reset) packet, which is used to abruptly terminate a connection. Use this filter to identify when a connection was forcefully closed(Troubleshooting for example).
tcp contains xxx - Display all TCP packets that contain a certain term.
!(arp or icmp or dns) - Filter out certain protocols
dns.flags.rcode != 0 - Indicates which dns requests couldn’t be correctly resolved.
http.request - Filters all HTTP GET and POST requests
Whenever you start communicating with a particular website what happens is that you have started a conversation of requests and responses and this can be tracked.
Now right click on a packet and click on Follow then TCP Stream: We can see the TCP messages. This is the entire conversation
This is another example:
As we can see Wireshark makes it very easy to keep track of the entire conversation occurring. This really helpful for tracking web activity in particular.
We can also use the Follow HTTP Stream option to get the HTTP conversation:
To wrap things up, if you’re looking to expand your skills in network traffic analysis, I highly recommend exploring more pcap files at http://www.pcapr.net/. By diving into Wireshark and gaining a deep understanding of network traffic, you’ll not only improve your ability to spot vulnerabilities but also elevate your overall pentesting expertise.
The more familiar you become with network protocols, traffic patterns, and potential exploits, the sharper your pentesting skills will be. I will conclude this blog here as I don’t want to go on and on about Wireshark. Also check out tcpdump which is a CLI tool similar to Wireshark. Thank you for reading and bye!
Related
Which Linux Distro is the best for you?
·1113 words·6 mins
This is a quick little blog about my Linux journey and how you could start yours.
I started my Linux journey when I realized how much easier it was to install packages, but the real game-changer came from the significant performance boost. Using VMware Workstation, I could run 3 separate Windows VMs simultaneously on Linux, while Windows struggled with just two, often crashing.
How I Passed the OSCP in Just 6 Months
·2549 words·12 mins
I am a student pursuing a Bachelor’s degree in Computer Science and Engineering and I passed the OSCP just six months into my cybersecurity journey, despite having limited prior experience.
About
·130 words·1 min
As a certified OSCP, I loved the thrill of the hunt. My passion was ethical hacking, exploring vulnerabilities, and pushing systems to their limits (and yes, breaking a few warranties).